Hello everyone,
In today’s era, as hackers’ techniques have advanced, developers are putting more effort into security than before. In my previous blog, I talked about the external security layer for WordPress websites.
This time, for junior developers who are struggling to decide which security features to add to WordPress sites in the web development field, I’ll discuss some of the methods I regularly use.
This approach is suitable, security-wise, for normal websites and blog sites. For important websites like business-level or enterprise-level, you should use more robust methods than these.
Okay, let’s look at the methods.
For standard websites, the tools I use are Cloudflare and the Wordfence plugin. For a basic site, I think these two are enough. Let’s see how to use these two tools.
First, create a website with WordPress. Then add that site to Cloudflare and make it active. For this, you’ll need a Cloudflare account. As the first step, add your website to Cloudflare. Then configure the DNS settings. Once that’s done, wait about 15 minutes and your website should become active.
Among external web security tools, Cloudflare is my favorite. Its ecosystem is built to work smoothly for everyone—from juniors and seniors to enterprise-level teams. In 2025, with support for microservices added, it has become very convenient for enterprise-level websites.
So, let’s take a closer look at Cloudflare’s importance and how to configure it in detail.
Prerequisites
Domain access: You can change nameservers at your registrar.
Hosting details: Current DNS records (A/AAAA for root and www, MX if using email).
WordPress admin: Access to install plugins and update settings.
Backup: Full site and database backup before changes.
Step-by-step configuration
1. Create Cloudflare account and import DNS
- Sign up: Create a Cloudflare account and add your domain.
- Scan DNS: Cloudflare imports existing DNS records automatically.
- Verify records:
– A/AAAA: Points to your server IP.
– CNAME: For www or subdomains.
– MX/TXT: Keep email records unchanged. - Orange cloud: Proxy on for the web records you want accelerated; leave email-related records “DNS only.”
- Update nameservers: At your registrar, replace existing nameservers with Cloudflare’s pair. Propagation may take up to 24 hours.
2. Set SSL/TLS correctly
1. Choose mod
- Full (recommended): Your origin has a valid certificate.
- Full (Strict best): Use a valid public CA cert or a free Cloudflare Origin Certificate installed on your server.
- Flexible (avoid): Can cause redirect loops and insecure origin connections.
2. Enable “Always Use HTTPS”: Automatic HTTP→HTTPS redirects at the edge.
3. Turn on HSTS (optional): Only after confirming HTTPS works site-wide.
4. Automatic HTTPS Rewrites: Fix mixed-content by rewriting http assets to https.
3.Optimize performance (CDN and caching)
1. Caching level: Standard is fine for dynamic WordPress; Cloudflare caches static assets (images, CSS, JS).
2. Browser cache TTL: 1–4 hours for assets; origin headers can override.
3. HTTP/3 + QUIC: Enable for faster, resilient delivery.
4. Early hints (optional): Faster page rendering by preloading critical assets.
5. Polish (image optimization, paid plans):
- Lossless/lossy compression.
- WebP auto conversion where supported.
- 6. Brotli compression: Ensure it’s enabled.
- 7. Rocket Loader (use with care): Test thoroughly; may break some JS-heavy themes/plugins.
4.Harden security (WAF and bot management)
1. Firewall rules:
- Block XML-RPC brute force: Block or rate-limit /xmlrpc.php if you don’t need it.
- Limit wp-login.php: Challenge or rate-limit excessive requests; allowlist your IP if needed.
- Country filters (optional): If targeted attacks come from specific regions.
2. DDoS protection: Default protection is automatic.
3. Security level: Medium or High during attacks; otherwise keep Balanced to avoid user friction.
4. Bot fight mode: Enable, then test site forms and critical JS; relax if it hurts real users.
5. WordPress-side settings
1. Install Cloudflare plugin:
- Connect with API token: Scoped token (Zone:Cache Purge, Zone:Read, etc.).
- Purge cache on update: Clear Cloudflare cache when posts, pages, or theme assets change.
- Automatic HTTPS: Confirm no mixed content remains.
2. Disable overlapping plugins:
- Minification/combining: Choose either Cloudflare or your performance plugin (e.g., Autoptimize/WP Rocket), not both.
- Object caching: Keep server-side (Redis) independent of Cloudflare.
3. Permalinks: Ensure pretty permalinks are enabled and working over HTTPS.
6. Smart rules
1. Rulesets or page rules:
- Cache everything (careful):
- Apply only to highly static routes (e.g., /blog/, /category/).
- Exclude cookies like wordpressloggedin or PHPSESSID to avoid caching logged-in views.
- Bypass cache: For /wp-admin/, /cart/, /checkout/* (eCommerce).
- Always online (optional): Serve cached pages during origin downtime.
2. URL redirects:
Use Bulk Redirects or Transform Rules for www→root, HTTP→HTTPS, or legacy path redirects.
3. Hotlink protection: Prevent other sites from embedding your images.
7. Test and validate
- Propagation check: Confirm domain resolves via Cloudflare.
- HTTPS checks: No mixed content or redirect loops.
- Performance audit:
- Core Web Vitals: Test after enabling CDN and image optimization.
- Asset paths: Static assets should be served from Cloudflare (cf-cache-status: HIT).
- Login/admin: Ensure wp-admin and wp-login remain uncached and accessible.
- Purge cache: After major template or CSS/JS changes.
Common pitfalls and fixes
- Flexible SSL loops: Use Full or Full (Strict). Install an origin cert if needed.
- Cached HTML for logged-in users: Bypass cache for cookies and admin paths.
- Over-minification conflicts: Don’t double-minify; pick one tool.
- Email delivery breaks: Keep MX and any mail-related hostnames “DNS only.”
- Country blocks affecting real users: Prefer challenges or rate limits over hard blocks.
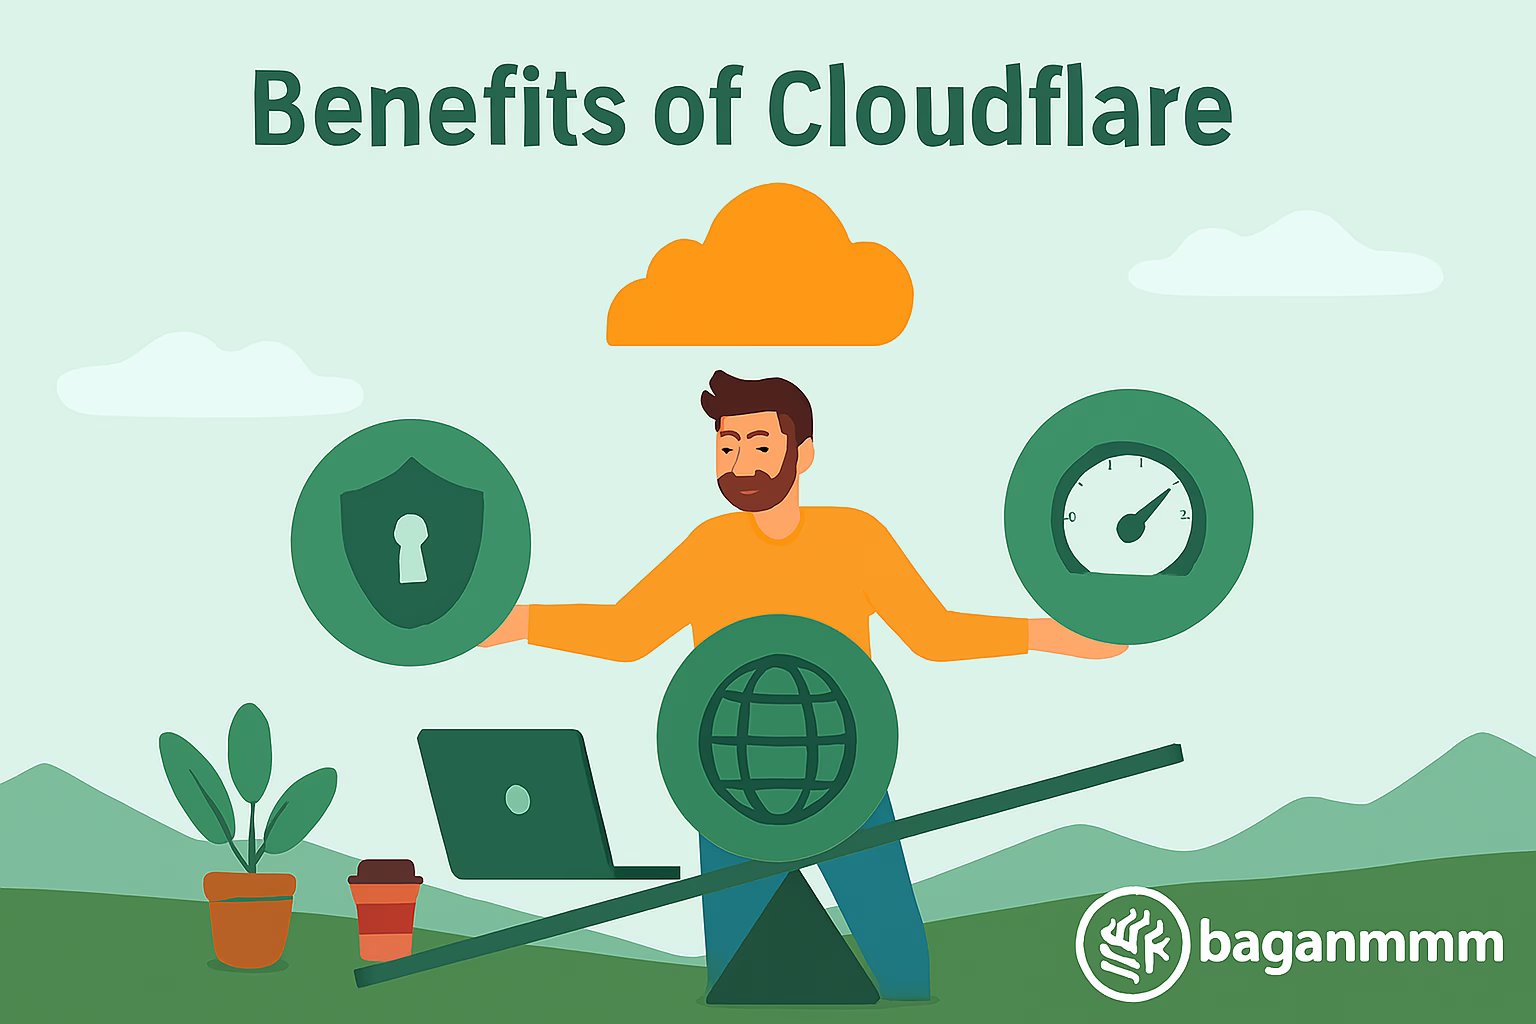
Benefits of Cloudflare
Performance:
- Global CDN: Static assets served from nearby edge locations reduce latency.
- HTTP/3, Brotli, Early Hints: Faster transport and rendering for modern browsers.
- Image optimization: Automatic compression and WebP reduces payload without quality loss.
Security:
- WAF and DDoS protection: Filters malicious traffic and absorbs volumetric attacks.
- Bot management: Challenges bad bots while letting good bots through.
- Zero trust options (advanced): Protect admin endpoints or private apps.
Reliability:
- Anycast network: Resilient routing and uptime.
- Always Online: Serves cached content if origin goes down.
Cost efficiency:
- Reduced bandwidth: Edge caching lowers origin traffic and hosting costs.
- Fewer plugins: Offload minification, image optimization, and redirects to Cloudflare.
SEO and UX:
- Faster pages: Better Core Web Vitals and user satisfaction.
- HTTPS everywhere: Trust and ranking signals from secure delivery.
Maintenance checklist
- Regular cache purge: After theme or CSS/JS updates.
- Audit firewall rules: Ensure legit users aren’t blocked.
- Monitor analytics: Use Cloudflare Analytics for cache hit ratio and threat data.
- Renew origin SSL: If using Full (Strict) with origin certificates.
- Quarterly performance review: Re-test CWV and refine rules.
This explains the detailed usage of Cloudflare. Cloudflare offers a variety of plans, starting from the free plan up to the enterprise level. Depending on the type of website you are running, you can choose the plan that best fits your needs. The tools you get access to also vary depending on the plan you select. For a normal website, the free plan is sufficient.
Another tool is the Wordfence WordPress plugin. Among all the WordPress security plugins I’ve used, Wordfence is my favorite. It’s easy to integrate, and when using it, you not only get built-in security rules but can also customize them to your preference. This customization feature is what I like the most.
Another advantage is ease of use. Its structure is simple, so even junior-level developers can use it easily. Now, let’s look at the detailed configuration and benefits for your website.
These are the details of how to use the Wordfence plugin. It also offers multiple plans, from the free plan up to the enterprise level. For a normal website, the free plan is more than enough.
Prerequisites
Admin access: WordPress admin credentials and the ability to install plugins.
Backups: Full site and database backup before security changes.
Email ready: A monitored email address for Wordfence alerts.
Hosting notes: PHP access for firewall optimization (auto_prepend via .htaccess or php.ini).
Step-by-step configuration
Install and run the setup wizard
Add plugin:
- In WordPress, go to Plugins → Add New → search “Wordfence Security” → Install → Activate.
- Agree and register email:
- Enter a valid admin email, enable critical alerts, and accept terms.
- Initial scan:
- Run the first scan to baseline issues.
Optimize the firewall (WAF)
- Enable firewall:
- Wordfence → Firewall → Manage WAF → turn on.
- Optimization mode:
- Click “Optimize Firewall” to set autoprependfile (Wordfence guides you; it may write to .htaccess or suggest php.ini changes).
- Protection level:
- Set to “Extended Protection” after optimization.
- Learning mode (temporary):
- If the site is busy, enable Learning Mode for 24–48 hours, then switch to Enabled & Protecting.
- Critical paths exclusion:
- Exclude /wp-admin/admin-ajax.php from rate limit caching in your performance plugin; the firewall handles it safely.
Harden login security
Brute force limits:
- Wordfence → Login Security → set lockouts (e.g., 5 attempts, 30-minute lockout, longer for repeat offenders).
- Two-factor authentication (2FA):
- Enable site-wide 2FA for admins and editors; provide backup codes.
- reCAPTCHA on login (optional):
- Enable CAPTCHA for login/register to reduce automated attacks.
XML-RPC controls:
- Disable or rate-limit /xmlrpc.php if you don’t rely on app-based posting or Jetpack.
Tune the malware scanner
Scan schedule:
- Wordfence → Scan → Scheduling (daily is fine; increase frequency during incidents).
- High sensitivity:
- Enable high sensitivity only if you can review occasional false positives.
- Core file integrity:
- Compare against official WordPress core; enable “Repair” for modified core files.
- Theme/plugin checks:
- Scan for abandoned/vulnerable plugins and update immediately.
- File changes and malware signatures:
- Enable email alerts for file changes and critical findings.
Configure blocking and rate limiting
Rate limiting:
- Wordfence → Firewall → Rate Limiting
- Set strict limits for crawlers hitting pages too fast (e.g., 120 requests/min → throttle or block).
Failed login blocks:
- Auto-block IPs after repeated lockouts; set block duration (e.g., 24–48 hours).
- Country blocking (premium):
- Consider blocking or challenging high-abuse countries; avoid blocking search engines and your admins.
- Manual blocks:
- Use Live Traffic to identify malicious IP/user-agents and block with expiration.
Alerts, allowlists, and roles
Email alerts: Send critical alerts immediately; digest weekly for low-severity items.
Admin notifications: Limit to key stakeholders; avoid alert fatigue by disabling low-priority notices.
Allowlist: Add your office/VPN IPs to the allowlist to prevent admin lockouts.
Roles policy: Enforce 2FA for Administrator and Editor; consider read-only accounts for casual contributors.
Compatibility and performance
Caching plugins: Avoid double-minifying (leave minify to your performance plugin, not Wordfence).
CDN: If using a CDN, ensure Wordfence sees real client IPs (server configured for X-Forwarded-For).
Staging sites: Disable alerts or restrict scans on staging to prevent noise.
Maintenance mode: Temporarily set firewall to Learning Mode during large migrations, then revert.
Test and verify
Login tests: Verify 2FA works for all admin accounts; confirm lockout behavior.
Scan clean: Run a full scan and resolve or ignore findings with notes.
WAF efficacy: Trigger a harmless test (e.g., blocked query) to ensure rules fire.
Recovery plan: Document how to unlock admins if locked (via FTP rename plugin or allowlist).
Maintenance checklist
Weekly: Review alerts, update WordPress core/plugins/themes, run a scan.
Monthly: Audit block rules and allowlist; prune outdated manual blocks.
Quarterly: Review 2FA enrollment, rate limits, and firewall optimization; retest recovery steps.
After incidents: Increase scan frequency, tighten rate limits, and temporarily enforce stricter login policies.
Benefits of Wordfence
Comprehensive protection:
- Firewall (WAF): Blocks known exploits, malicious payloads, and aggressive crawlers at PHP level.
- Malware scanning: Detects infected files, backdoors, and modified core; repairs core files automatically.
Strong login security:
- 2FA and brute-force protection: Prevents account takeover with lockouts, CAPTCHA, and authentication codes.
- XML-RPC controls: Reduces attack surface from remote posting endpoints.
Real-time visibility:
- Live Traffic: Shows IPs, user-agents, and blocked requests, enabling targeted response.
- Email alerts: Immediate notifications of critical issues and vulnerabilities.
Performance-aware:
- Rate limiting: Throttles abusive crawlers without harming real users.
- Smart exclusions: Works alongside caching/CDN when configured correctly.
Scales with needs:
- Free to premium path: Core protection on free plan, with premium adding real-time firewall rules, malware signatures, and country blocking.
- Policy control: Enforce 2FA and security standards across roles.
Final Thoughts
What I’ve shared here is mainly for junior-level developers who want to add the simplest yet most effective security layers to a website. In this blog, I selected two tools that I personally like and that I believe will also be convenient for readers.
These tools are easy enough to configure that even junior developers can use them without difficulty. In future blogs, I’ll continue sharing more technology-related topics based on my own experiences.
Note
This blog is intended purely for educational and technical knowledge-sharing purposes. It is not promote for Cloudflare or Wordfence.

Alice is the visionary behind Baganmmm Tech, a platform he founded with a passion for demystifying the complex world of technology. As the Lead Technologist, he's often found in his home lab – a cozy, wire-filled sanctuary where ideas are born and code is meticulously crafted. His infectious enthusiasm and knack for explaining intricate concepts make him the go-to expert for everything from web development to emerging tech trends.